
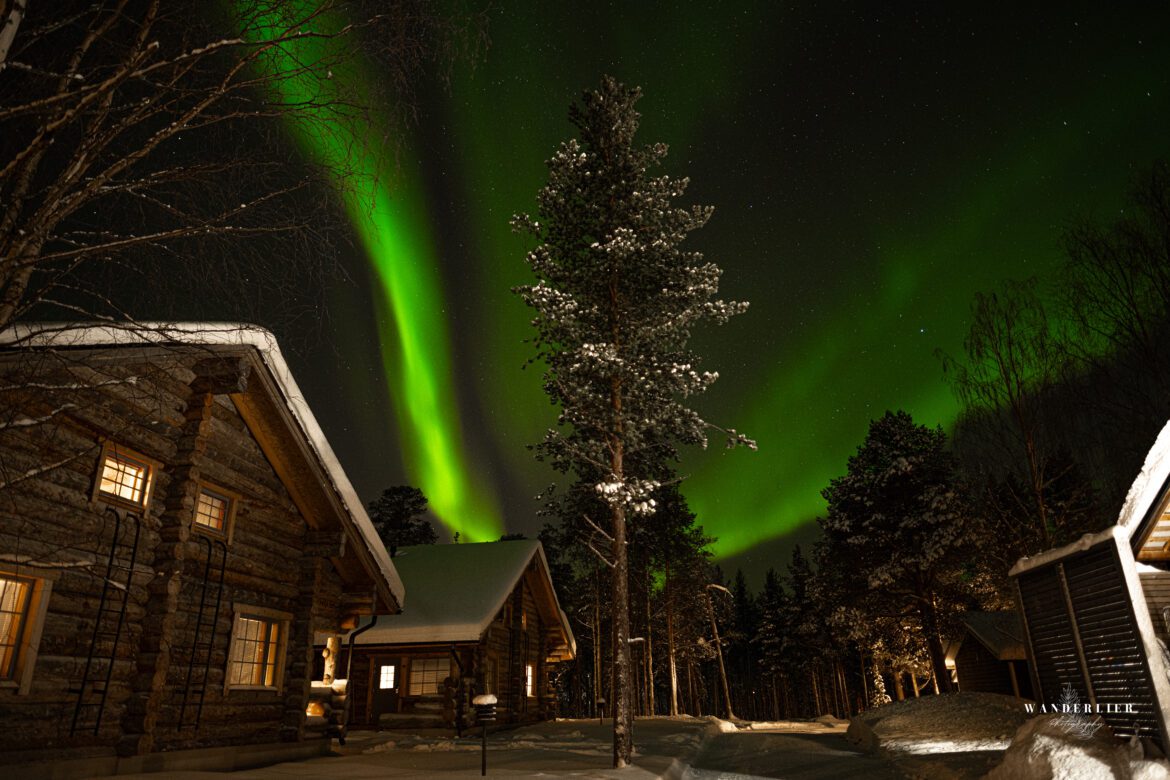
Het noorderlicht fotograferen.
Het noorderlicht, ook bekend als de Aurora Borealis, is een adembenemend natuurverschijnsel dat fotografen van over de hele wereld naar poolgebieden trekt. Hier zijn enkele tips om je te helpen dit magische lichtspektakel vast te leggen en te delen met de wereld.
Kp-index
De Kp-index, of geomagnetische K-index, is een maatstaf voor de activiteit van het aardmagnetisch veld. Het is een numerieke schaal die varieert van 0 tot 9 en aangeeft in welke mate het magnetisch veld van de aarde verstoord is door zonnewind. Deze index wordt vaak gebruikt in de context van geomagnetische stormen en het voorspellen van het noorderlicht (Aurora Borealis) of zuiderlicht (Aurora Australis).
Hier is een overzicht van de Kp-index en wat de verschillende niveaus betekenen:
- Kp 0-1: Zeer rustig. Geen bijzondere geomagnetische activiteit.
- Kp 2-3: Rustig. Weinig geomagnetische activiteit, het noorderlicht is mogelijk alleen zichtbaar op hogere breedtegraden.
- Kp 4: Actief. Het noorderlicht kan zichtbaar zijn op lagere breedtegraden.
- Kp 5: Gematigd stormachtig. Het noorderlicht kan zichtbaar zijn op aanzienlijke afstand van de poolgebieden.
- Kp 6: Sterk stormachtig. Het noorderlicht kan zichtbaar zijn op lagere breedtegraden dan normaal.
- Kp 7-9: Zeer sterk stormachtig tot extreem. Het noorderlicht kan zelfs op zeer lage breedtegraden zichtbaar zijn.
Hoe hoger de Kp-index, hoe groter de kans is op het zien van het noorderlicht.
Locatie
- Kies een locatie ver van stadslichten en andere bronnen van lichtvervuiling. Vermijd obstakels zoals gebouwen en bomen die het zicht kunnen belemmeren.
Wanneer kun je het noorderlicht fotograferen
- Het noorderlicht is het beste zichtbaar tijdens de wintermaanden, vooral in de donkere, heldere nachten. Raadpleeg aurora-voorspellings apps om te kijken wanneer de kans op het noorderlicht het grootste is. Via deze apps is het ook mogelijk om push-meldingen aan te zetten wanneer de kp-index hoog is.
Statief
- Neem een stevig statief mee om cameratrillingen te minimaliseren tijdens langere belichtingstijden. Zorg voor een stevige en vaste ondergrond.
Zelfontspanner of afstandsbediening
- Maak gebruik van de zelfontspanner of gebruik een afstandsbediening. Wanneer je de sluiterknop indrukt zonder ontspanner, ontstaat er de kans dat er trillingen in je camera ontstaan.
Handmatige instellingen
- Schakel over naar de handmatige modus van je camera om volledige controle te hebben over de instellingen. Pas je diafragma, sluitertijd en ISO aan om de optimale belichting te bereiken.
Laag ISO gebruiken
- Begin met een lage ISO-waarde (bijvoorbeeld 100 of 200) om ruis in je foto’s te minimaliseren. Je kunt de ISO later aanpassen op basis van de omstandigheden.
Groot diafragma
- Kies een laag f-getal (groot diafragma) om zoveel mogelijk licht binnen te laten op je sensor. Dit helpt om de kleuren en details van het noorderlicht vast te leggen.
- Gebruik een groothoeklens met een laag f-getal, perfecte objectieven hiervoor zijn bijvoorbeeld een 24mm f/1.8 of een 24-70mm f/1.8.
Lange belichtingstijd
- Gebruik langere belichtingstijden (bijvoorbeeld 10-30 seconden) om het licht van het noorderlicht op te vangen op je sensor. Experimenteer met verschillende belichtingstijden voor het beste resultaat.
Witbalans
- Stel je witbalans in op daglicht of tussen de 3500 en 4000 Kelvin, dit zorgt ervoor dat je foto niet opeens veel geler of blauwer word.
Handmatig scherpstellen
- Schakel over naar handmatige scherpstelling en stel je lens scherp op een heldere ster of op het oneindig getal (∞). Zet de de camera niet op automatisch, de camera kan namelijk moeilijk in het donker scherp stellen. Dit voorkomt dat je camera in het donker gaat zoeken naar scherpstelling.
RAW of JPEG
- Tijdens het fotograferen van het noorderlicht, is het advies om je foto’s in RAW te schieten. Dit geeft je namelijk de beste mogelijkheid om je foto te bewerken in de na-bewerking.
Wees geduldig
- Het noorderlicht kan onvoorspelbaar zijn. Neem de tijd en wees geduldig. Blijf alert op veranderingen in de intensiteit en vorm van het licht.
Temperatuur verschil
- Fotografeer je het noorderlicht op een locatie waar het extreem koud is? Houd er dan rekening mee, wanneer je weer naar binnen gaat. Dat je camera van een koude temperatuur naar een warme temperatuur gaat. Laat je camera eerst acclimatiseren. Wanneer je camera in een warme omgeving komt ontstaan er condens, bij inschakelen van de camera kan dit voor problemen zorgen. Dus wacht geduldig tot je camera weer op redelijke kamer temperatuur is.
Zelf heb ik de kans gehad om in 2022 het noorderlicht op de foto te zetten in Finland. Als nog blijft het altijd afwachten, veel mensen gaan op vakantie naar Lapland en hebben het noorderlicht niet kunnen aanschouwen. Ik had het geluk dat ik het noorderlicht 5 keer heb kunnen zien.
Alle uitrusting die ik gebruik om te fotograferen, heb ik aangeschaft bij CameraNU in Eindhoven. In deze winkel krijg je prima service en nemen ze uitgebreid de tijd om te kijken naar welke uitrusting het beste bij jou past.
Momenteel ben ik bezig met het optimaliseren van mijn website, daarbij komt ook een pagina die gaat over ”Leren fotograferen” waar ik uitleg geef of de basis van fotografie.


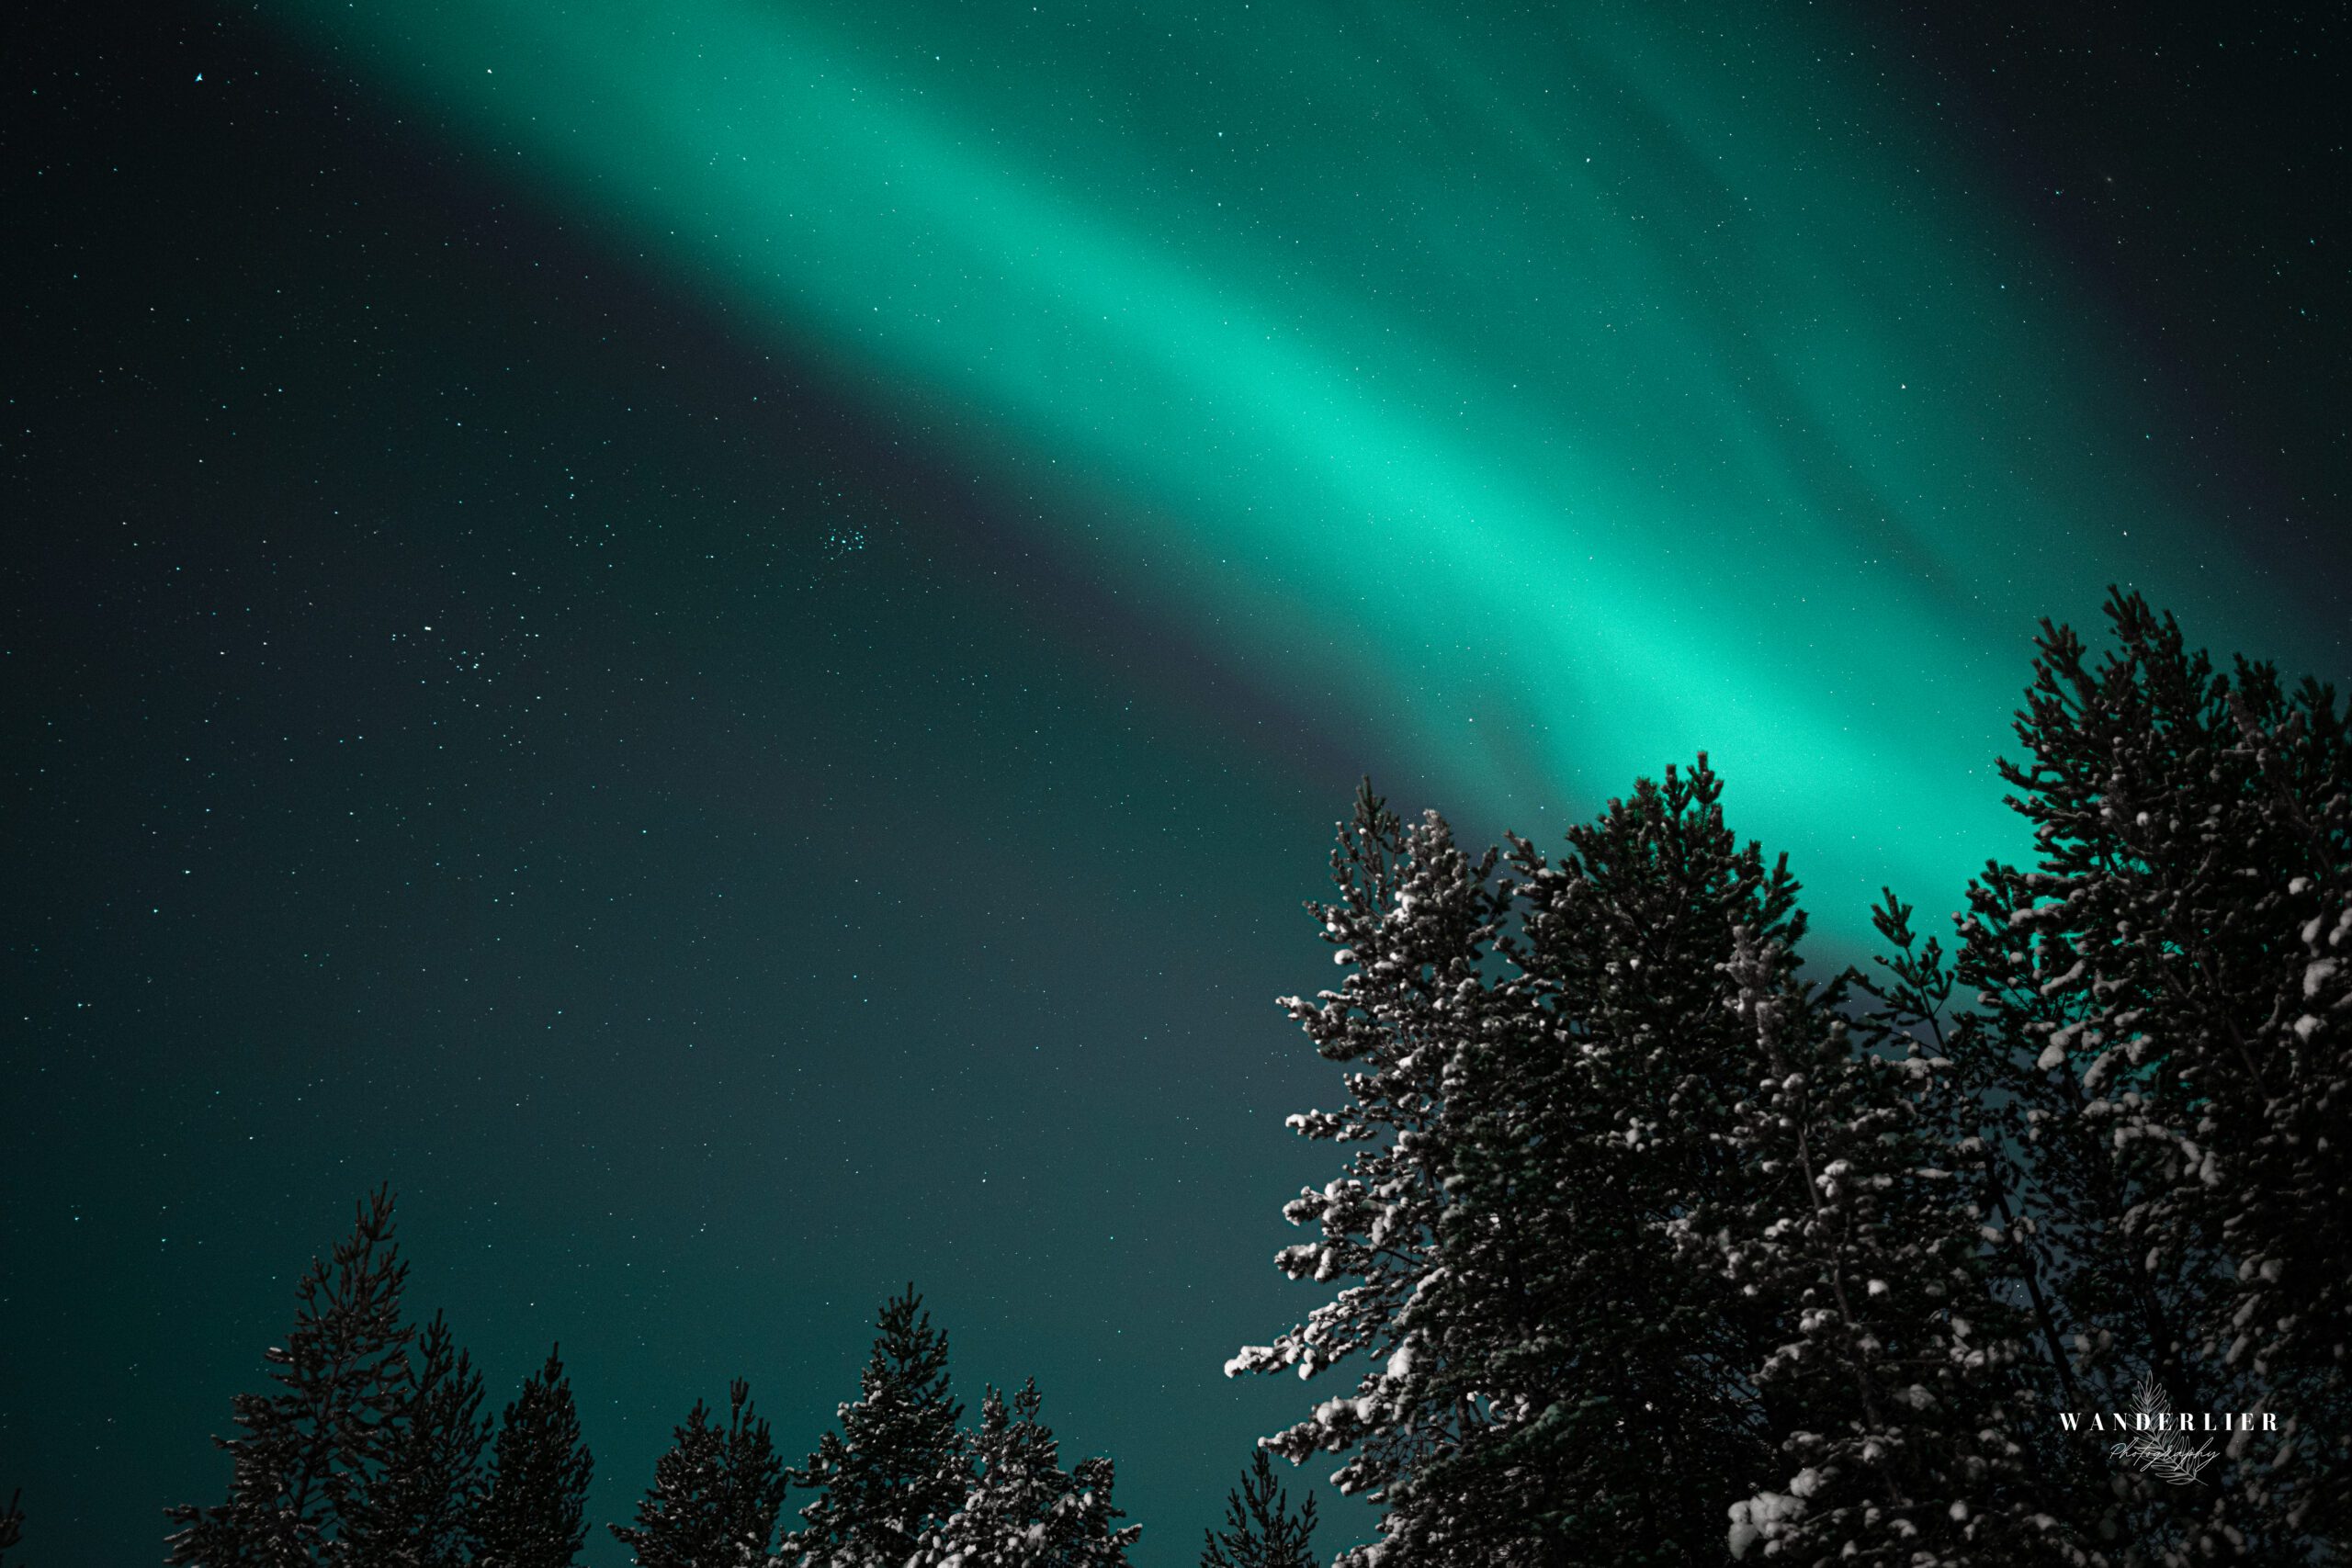
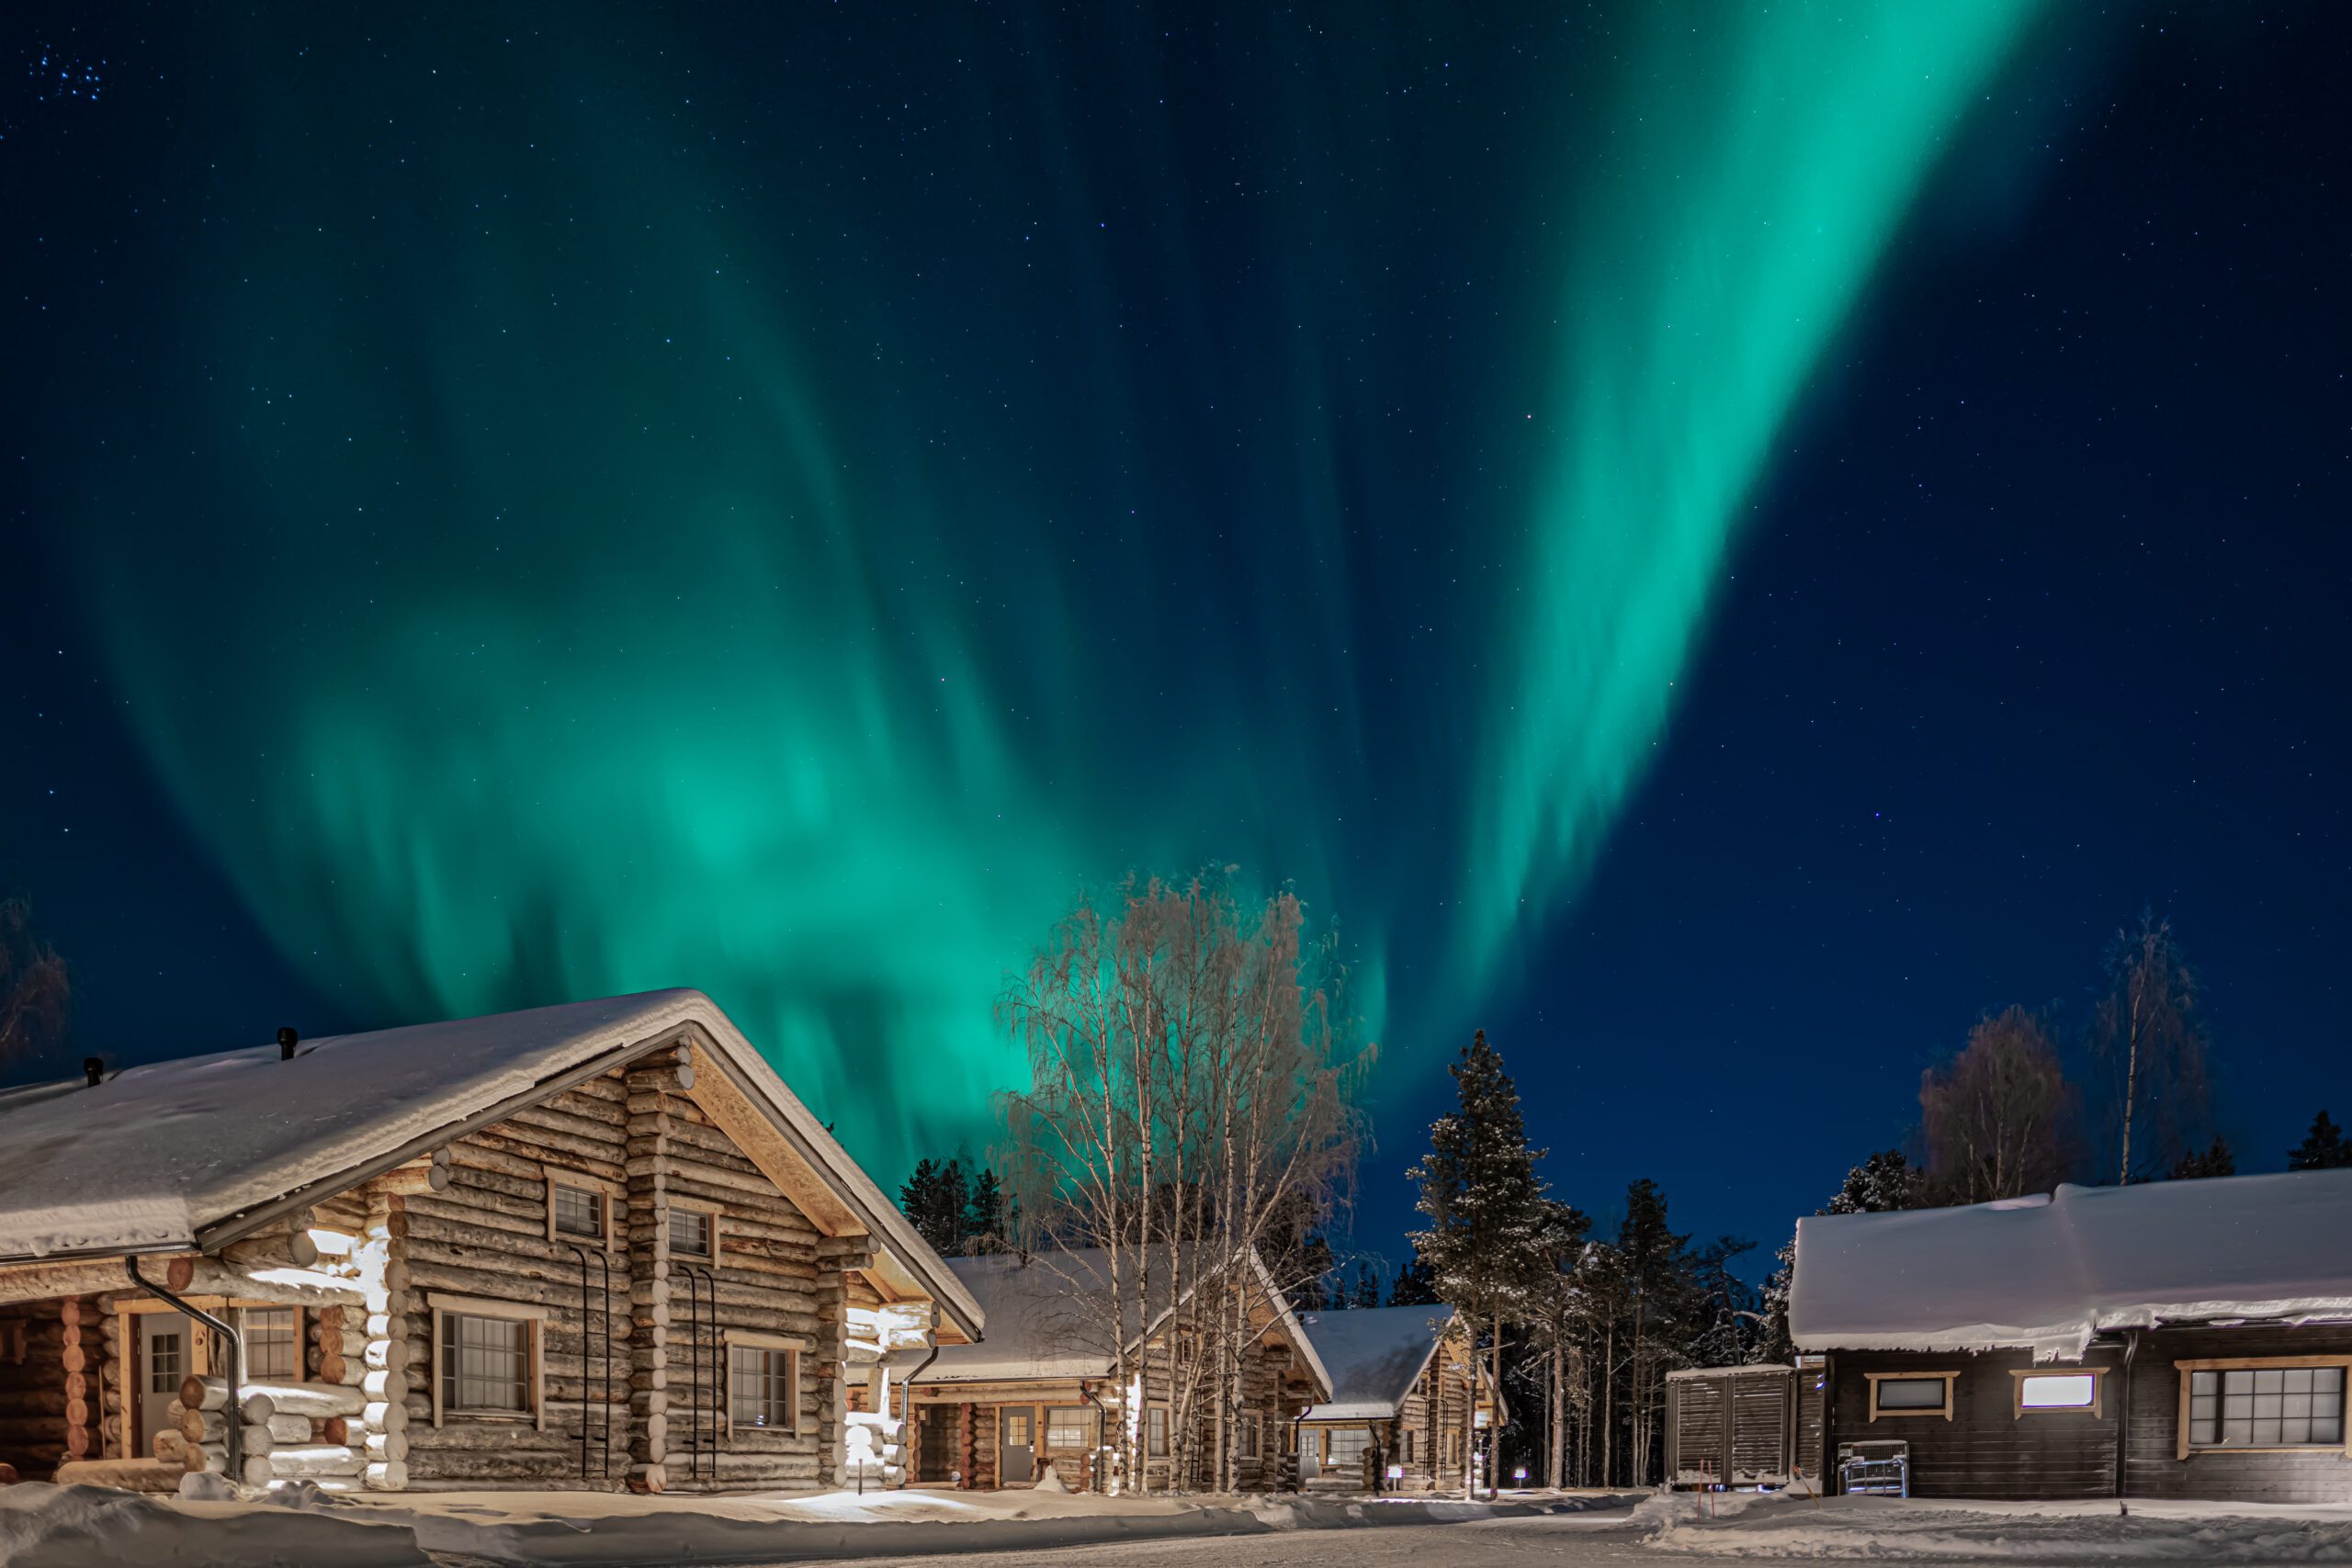
The Northern Lights, also known as the Aurora Borealis, is a breathtaking natural phenomenon that attracts photographers from around the world to polar regions. Here are some tips to help you capture and share this magical light spectacle with the world.
Kp-index
The Kp-index, or geomagnetic K-index, is a measure of the activity of the Earth’s magnetic field. It is a numerical scale ranging from 0 to 9, indicating the extent to which the Earth’s magnetic field is disturbed by solar wind. This index is often used in the context of geomagnetic storms and predicting the Northern Lights (Aurora Borealis) or Southern Lights (Aurora Australis).
Here is an overview of the Kp-index and what the different levels mean:
- Kp 0-1: Very quiet. No significant geomagnetic activity.
- Kp 2-3: Quiet. Little geomagnetic activity; the Northern Lights may only be visible at higher latitudes.
- Kp 4: Active. The Northern Lights may be visible at lower latitudes.
- Kp 5: Moderate stormy. The Northern Lights may be visible at a considerable distance from the polar regions.
- Kp 6: Strong stormy. The Northern Lights may be visible at lower latitudes than usual.
- Kp 7-9: Very strong stormy to extreme. The Northern Lights may even be visible at very low latitudes.
The higher the Kp-index, the greater the chance of seeing the Northern Lights.
Location
Choose a location far from city lights and other sources of light pollution. Avoid obstacles such as buildings and trees that may obstruct your view.
When to Photograph the Northern Lights
The Northern Lights are best visible during the winter months, especially on dark, clear nights. Consult aurora forecast apps to determine when the chances of seeing the Northern Lights are highest. These apps also allow you to enable push notifications when the Kp-index is high.
Tripod
Bring a sturdy tripod to minimize camera shake during longer exposure times.
Self-timer or Remote Control
Use the self-timer or a remote control to release the shutter. Pressing the shutter button without a timer can cause slight camera movement.
Manual Settings
Switch to your camera’s manual mode to have full control over the settings. Adjust your aperture, shutter speed, and ISO to achieve optimal exposure.
Use Low ISO
Start with a low ISO value (e.g., 100 or 200) to minimize noise in your photos. You can adjust the ISO later based on the conditions.
Wide Aperture
Choose a low f-number (wide aperture) to allow as much light onto your sensor as possible. This helps capture the colors and details of the Northern Lights.
Use a wide-angle lens with a low f-number; perfect lenses for this purpose include a 24mm f/1.8 or a 24-70mm f/1.8.
Long Exposure Time
Use longer exposure times (e.g., 10-30 seconds) to capture the light of the Northern Lights on your sensor. Experiment with different exposure times for the best results.
White Balance
Set your white balance to daylight or between 3500 and 4000 Kelvin to ensure your photo does not become significantly warmer or cooler.
Manual Focus
Switch to manual focus and focus your lens on a bright star or at infinity (∞). Do not set the camera to automatic, as it may struggle to focus in the dark. This prevents your camera from searching for focus in the dark.
RAW or JPEG
While photographing the Northern Lights, it is advisable to shoot your photos in RAW. This gives you the best opportunity to edit your photos in post-production.
Be Patient
The Northern Lights can be unpredictable. Take your time and be patient. Stay alert to changes in the intensity and shape of the light.
Temperature Difference
If you are photographing the Northern Lights in an extremely cold location, consider that when you return indoors. Allow your camera to acclimate before turning it on. When your camera transitions from a cold to a warm environment, condensation can occur. Waiting patiently ensures your camera returns to a reasonable room temperature.
I had the opportunity to photograph the Northern Lights in Finland in 2022. Nonetheless, it always remains uncertain; many people vacation in Lapland and are unable to witness the Northern Lights. I was fortunate to see the Northern Lights five times.
All the equipment I use for photography was purchased from CameraNU in Eindhoven. This store provides excellent service and takes the time to help you find the equipment that suits you best.
Currently, I am working on optimizing my website, including a page about “Learning Photography,” where I provide explanations about the basics of photography.
Geef een reactie